Editing Courier Services
Rename a courier service in Helm WMS and set the codes and options sent with every booking, from network codes to customs details.
What Service Settings Control
Each courier service in Helm carries its own settings. They tell the courier exactly what you are booking: which of its products to use and, for some couriers, extra details such as customs information or delivery options. When they are right, labels book first time and nobody has to type the same details into every shipment.
The settings differ from courier to courier, and sometimes from service to service. This guide explains how the Edit Service window works and what the common fields do. Your courier's own guide covers the codes that are specific to it.
Example: a warehouse starts shipping DPD parcels to Ireland. It renames the service "DPD Next Day" so packers recognise it at a glance, then sets Reason For Export to 01 (Sale) and Trade Terms to DAP. Every parcel booked on that service now carries the right customs details without anyone adding them by hand.

Before You Start
The courier is set up. The courier needs to be installed with at least one service. See Setting Up a Courier if you have not done this yet.
Codes from your courier. Required fields such as Network Code must match what your courier has given you, so have their details to hand before changing them.
Access to Settings. Services are edited in Settings > Despatch Settings > Couriers.

How to Edit a Service in Helm
Go to Settings > Despatch Settings > Couriers and open the courier.
In the Services panel, click ... in the Actions column next to the service and choose Edit.
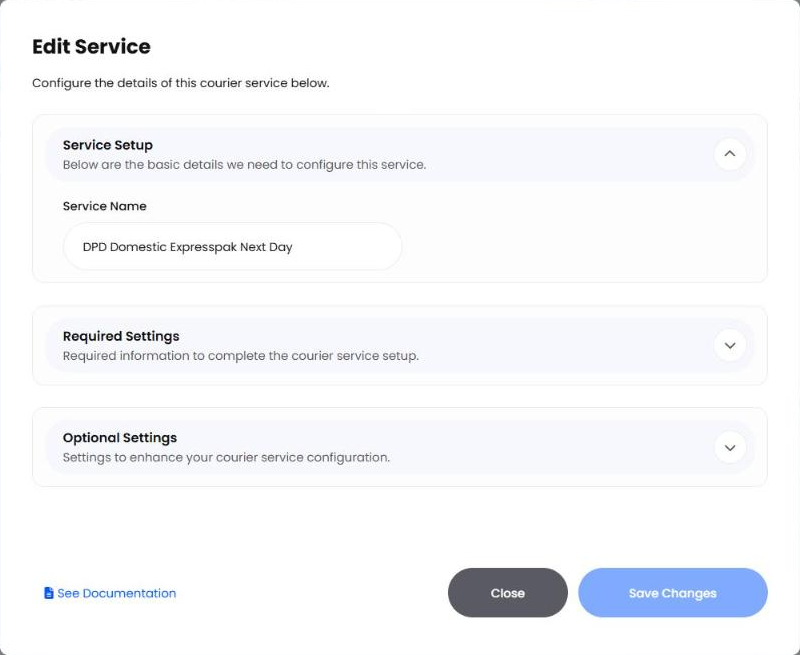
The Edit Service window has three sections. Click the arrow on a section to open it:
Service Setup: the service's name.
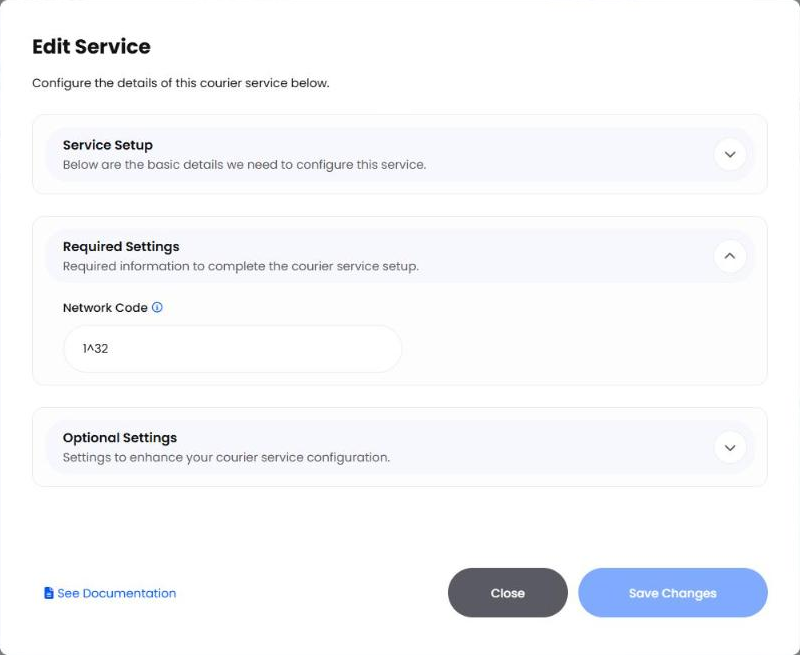
Required Settings: the details the courier needs to book this service.
Optional Settings: extra details sent with every booking on this service.
Make your changes. Hover over the i icon next to any field to see its default and the values it accepts.
Click Save Changes. Click Close to leave without saving.
Tip: See Documentation, at the bottom left of the window, opens the guide for this courier, where the courier's own codes are explained.

Naming the Service
The Service Name in Service Setup is what your team sees when choosing a service, for example in shipping rules. Preset services arrive with the courier's full product name, which can be long.
A short name with the courier at the front, such as "DPD Next Day" or "Evri 48", is quicker to recognise and keeps services from different couriers easy to tell apart.

Required Settings
Required Settings hold the code that tells the courier which of its products you are booking, such as the Network Code for DPD. For services added from the preset list, Helm fills these in for you.
Change them only when your courier gives you a new code. A code that does not match the courier's records means bookings on this service will fail.
Heads up: a change here applies to every booking on this service from the moment you save.

Optional Settings
Optional Settings let you send the same extra details with every booking on the service. Any field you leave empty uses the default shown when you hover over its i icon.
The fields you see depend on the courier. These are the ones you are most likely to meet:
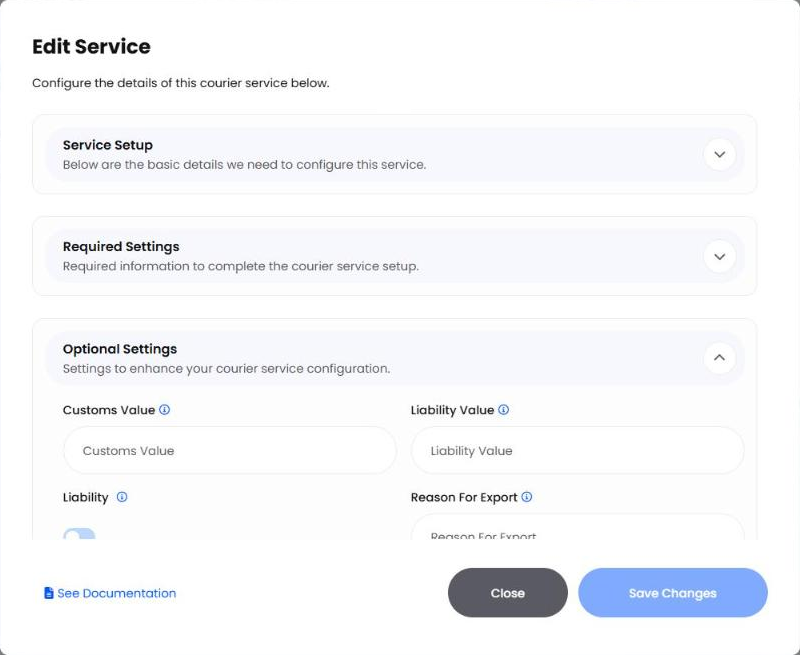
Other fields, such as Pickup Location, Drop At Shop or Is Lite, belong to particular couriers. Check the courier's guide before changing them.

Best Practices & Notes
Name Services the Same Way Across Couriers
"DPD Next Day", "Evri Next Day" and "Royal Mail Next Day" read as a set. Packers and anyone setting up rules can compare like with like instead of decoding product names.
Book a Test Label After Each Change
After saving, create a shipment on a test order with the service and print the label. It is the quickest way to confirm the courier accepts the new settings before your team relies on them.
Check Courier Logs When a Booking Fails
Courier Logs, in Settings > System Settings, shows every call to your couriers, including failed shipment attempts, so you can see which booking went wrong and why.
Keep Shipping Rules in Step
When you add or retire a service, update the Shipping Rules that use it so orders go out on the service you intend.

FAQ
Do I have to fill in every optional setting?
Do I have to fill in every optional setting?
No. Empty fields use the default shown on the field's i icon. Fill in only the ones you want to send differently.
Where do I find the right Network Code?
Where do I find the right Network Code?
Your courier provides it. For services added from the preset list, Helm fills it in already.
How do I add another service?
How do I add another service?
Open the courier and click + in the Services panel. See Setting Up a Courier for the full steps.
Can I remove a service I no longer use?
Can I remove a service I no longer use?
Yes. Click ... next to the service and choose Delete. Move any shipping rules that use it to another service first.
Why are orders not using a service I edited?
Why are orders not using a service I edited?
Check that the service shows Active in the Services panel and that it is an output service in a Shipping Rule the order matches.

Still stuck? Contact Support and the team will help.
Was this helpful?
Still need help? Share an idea